2022-12-26: Getting started with Mixed Reality experience
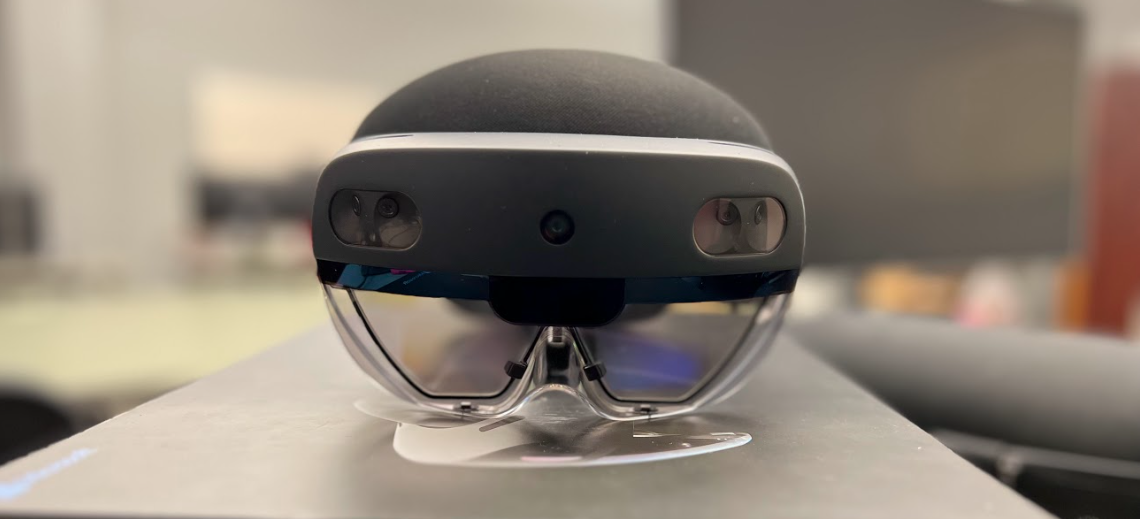
Figure 1: HoloLens 2 headset device.
One of the most popular technological trends today is Mixed Reality (MR). You can use advanced sensing and imaging technology to interact with and manipulate real-world and virtual objects and surroundings in MR. Without ever taking off your headset, MR lets you see and become fully immersed in the world around you while interacting with a virtual environment with your hands. It enables you to have one foot (or hand) in the actual world and the other in an imaginary setting, bridging the gap between the real and the virtual and providing an experience that might alter how you work and play now. Microsoft brings its version of MR, which they call HoloLens. These HoloLens can be used to show information, merge with the real world, or even recreate a virtual world thanks to various sensors, cutting-edge optics, and holographic computing that adapts to its surroundings. The information can be presented in multiple ways, such as visually, aurally, haptically, somatosensory, and olfactorily. We will have a walkthrough of developing an MR-based application for HoloLens 2 devices using Unity.
We will begin by downloading the Unity Hub from Unity Store. Once the download is complete, we’ll launch the application. Unity Hub manages multiple Unity Editors. You can create new projects and access your work through Unity Hub. Next up, we need to get an editor where we write all code and compile it. For this walkthrough, we are using the 2020.3.24f1 version of Unity Editor.
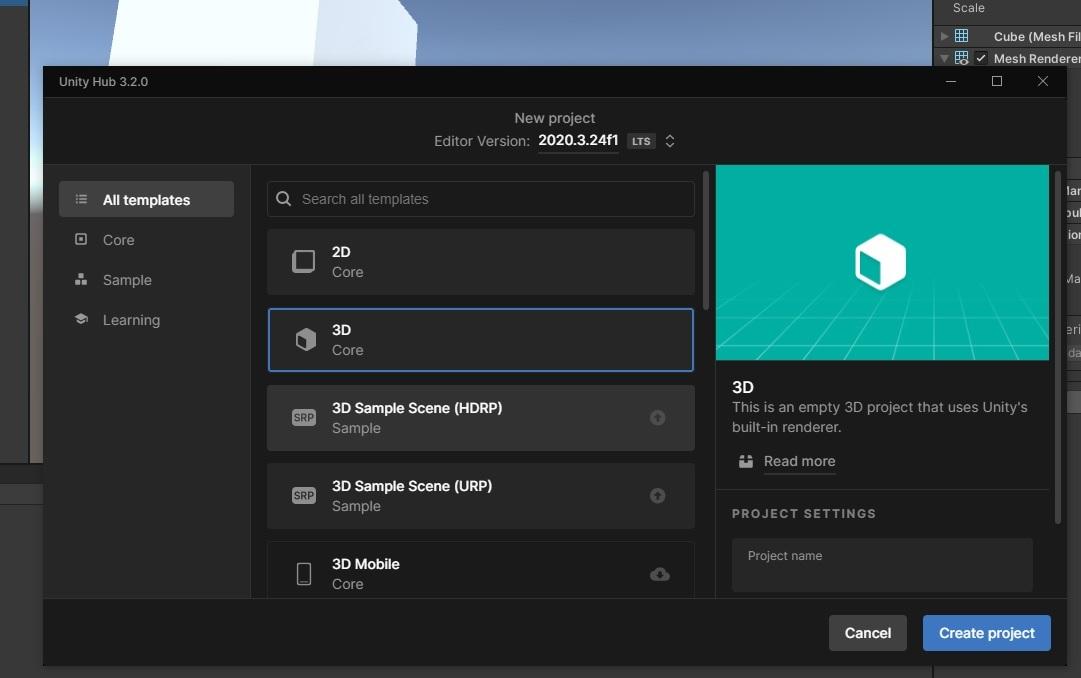
Figure 2: Creating a project.
Click on “Create a new project” (Figure 2), ensure the template is set to 3D, enter a suitable project name, and click on create. After creating the project, switch the build platform in the Build settings. Select the Universal Windows Platform and set the settings like the image shown in the figure (Figure 3).

Figure 3: Configuring the Project settings.
If you still need to install the Universal Windows Platform, you can install it in the Unity Hub and return to this step. Next, click on switch platform close build settings. Now we'll proceed to install MRTK. It provides a set of components and features to accelerate cross-platform or app development in Unity. You can download MRTK from the Microsoft Download Center. After downloading MRTK, open the executable file to launch the Mixed Reality Feature Tool. Click on start, browse the path (Figure 4) of your project click on “Discover Features.”
Now, we are going to pick a few options from this list. From the “Mixed Reality Tool” group, click “Mixed Reality Toolkit Foundation,” and from the “Platform Support” group, click “Mixed Reality Open XR Plugin.” After that, click on validate and wait. If no validation issues are detected, click on import. Finally, select approve to add the Mixed Reality Toolkit to your project next.
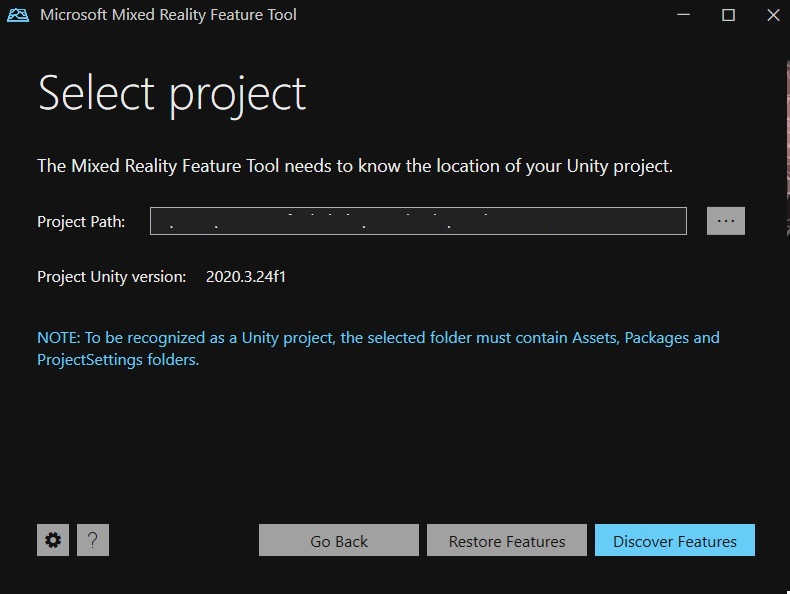
Figure 4: Choosing project path in MRTK.
We are now setting up the Unity Project. To enable XR plugin management, first, click on the Unity Open XR plugin button. Select show XR plugin management settings (Figure 5) in the MRTK project configurator under XR plugin management. Make sure that the Windows logo tab is active, and ensure “Initialize XR on startup,” “Open XR,” and “Microsoft HoloLens Feature Group” are all enabled.

Figure 5: MRTK showing a different set of pipelines.
Click next under “XR plugin management.” Select “Open XR” and verify depth submission mode is set to depth 16-bit and interaction profiles are set to “Microsoft hand interaction” profile (Figure 6). Click on apply, and Unity will restart, open the “MRTK project configurator” and then select next. Click “Import Tmp Essentials” to complete the configuration.

Figure 6: OpenXR is a plug-in in Unity's XR plug-in architecture.
Now, we can create a new scene in the unity menu. Select the file and click new scene followed by basic to create a new scene. Select the Mixed Reality Toolkit “add to scene and configure” to add the MRTK to your current scene. With the Mixed Reality Toolkit object still selected in the inspector window hierarchy window, ensure that the Mixed Reality toolkit configuration profile is set to default Mixed Reality token configuration profile and save the scene with a proper name. Next, let us add a cube object we want to manipulate with our hands in the HoloLens. Select the 3d object from “GameObject” to add a cube object to the scene. Select the cube object and make sure that on the “Transform” field, the cube's position will be placed 0.5 units at Z-axis (Figure 7).
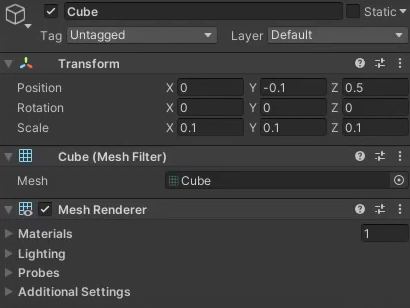
Figure 7: Configuring the scale of the Cube.
Let's input 0.1 units in the scale box to scale the size down. Otherwise, it'll be too big. To interact with this object. We need to add an object manipulator script and near-interaction graphical script to the queue unity's cube already has a box collider by default, with the cube still selected. Click on add component button, search and select object manipulator. The script repeats the same to add the near interaction gradable script to the queue (Figure 8). We added another cube to the project with a different scale level.

Figure 8: Adding the script to the Cube’s profile.
Now, our project is ready to deploy. You can deploy your HoloLens-based application in two ways. One approach uses Visual Studio, and the other uses Windows Device Portal. We will use Windows Device Portal because it is the easiest way to connect with web server availability, configuring and managing the settings for the device over a network or USB connection (Figure 9).
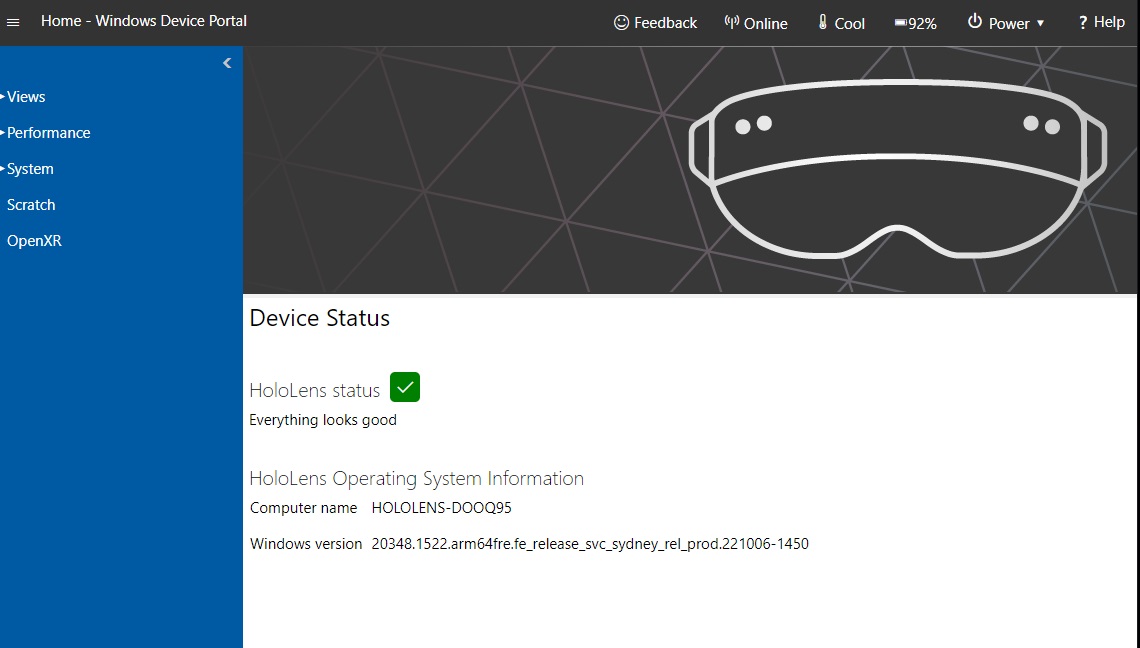
Figure 9: Windows Device Control user interface.
We need to export our package to install it on our device. Select the MRK toolkit on the menu and choose Build Window. There are different formats and configurations you can export this package. Since we plan to deploy it on the Windows Device portal, we will select Build Platform as ARM64 and click Build all (Figure 10). It will export the package with all required dependencies.
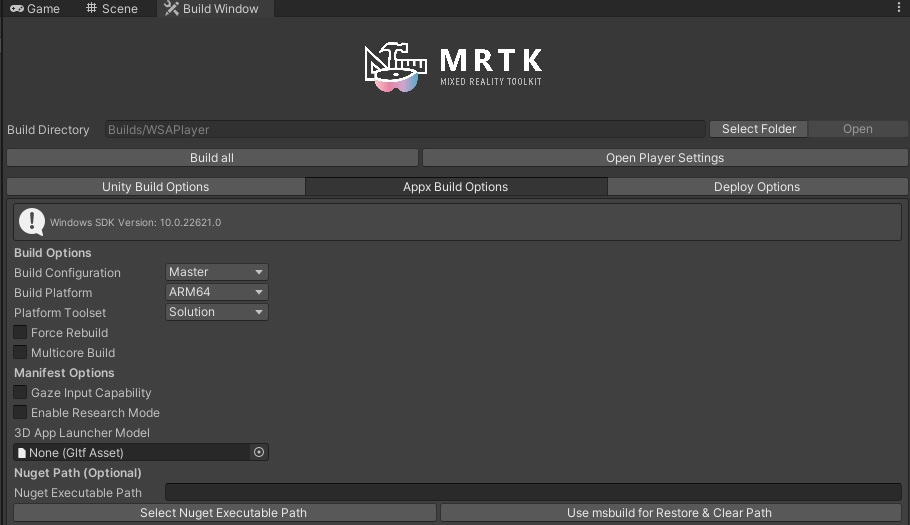
Figure 10: Exporting app packages from Unity.
Once the package is ready, we need to upload this package on Windows Device Portal. Click Apps on the left panel under Apps and click local storage. Upload the package and dependency file (in most cases, it comes with a dependency file) and click Install. If the package has no error, it’ll give you a compilation message saying “Package Successfully Registered” (Figure 11). Now, place the HoloLens on your head. Make sure it fits with your head, so you can feel comfortable using it. You’ll find your app installed on all program lists. Click it, and it will open the app on HoloLens.
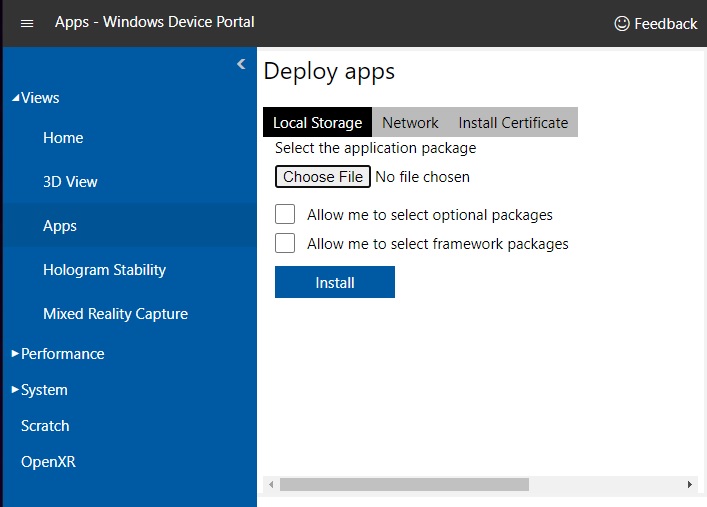
Figure 11: Deploy package on Windows Device Portal.
A spatial map of your surrounding environments will be visible when you open it. Two of the floating cubes can be seen in this environment. You can move, rotate, and scale up those cubes through the interaction of your hand. You can place those cubes in the real environment too.
Acknowledgment
I want to express my gratitude to Dr. Michael Nelson for his assistance in reviewing this blog article.
Comments
Post a Comment